How to Transfer Files between KENCLUST and your Computer
Prepared by Angus A. Nassir
In the last post, I demonstrated how to access KENCLUST remotely using PUTTY on your windows computer. In this post, I describe how to securely move files from your computer to KENCLUST and from KENCLUST to your computer using WinSCP. WinSCP is an open-source SSH File Transfer Protocol, Amazon S3, WebDAV, and secure copy protocol client for Microsoft Windows allows one to transfer files. File transfer is a necessary operation during bioinformatics analysis.
How to install WinSCP.
| Step 1: click the link below to download the installation package. |
 |
| The download will begin immediately
|
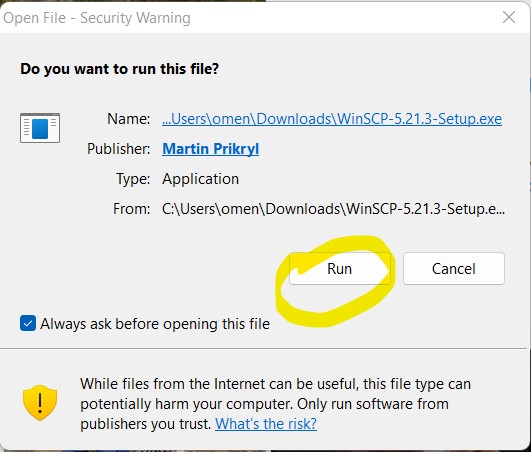
Step 2: click on the downloaded file then click the “run” tab
 |
| Step 3: Accept the License Agreement
|
| Step 4: click "Next"
|
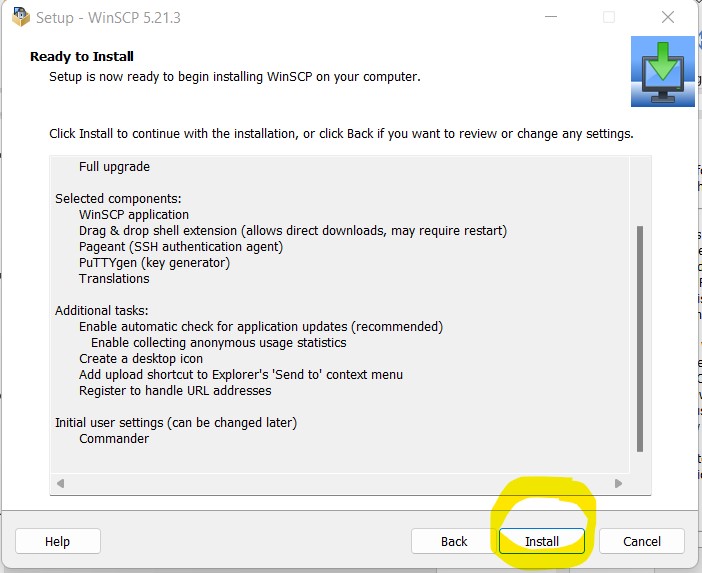
| Step 5: click Install" to install WinSCP in the default folder
|
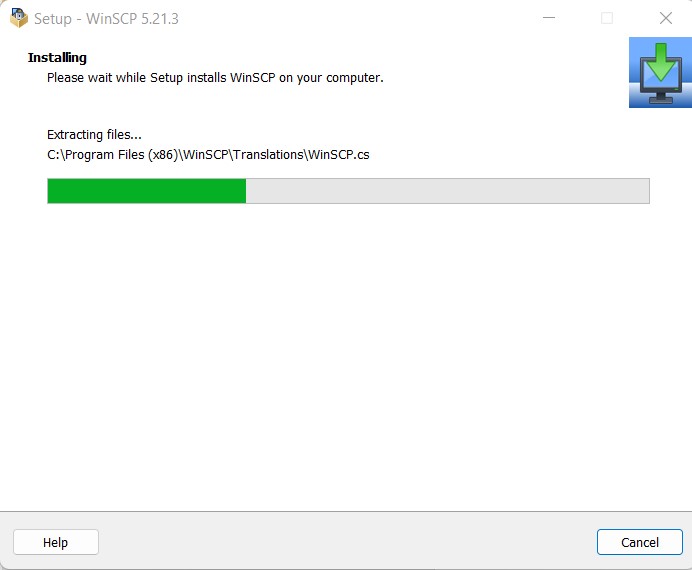
| Step 6: WinSCP will install in the default folder
|
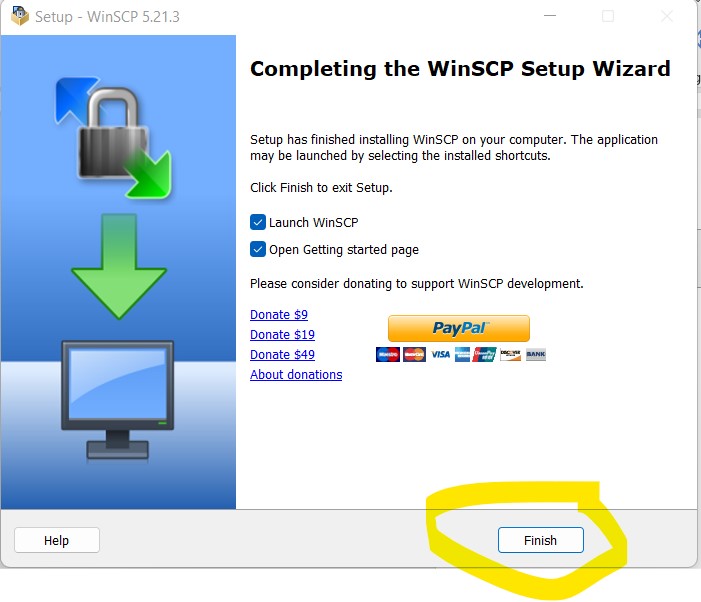
| Step 7: Click Finish to exit the installer once the installation completes
|
| Step 8: double click on the shortcut icon to start WinSCP |
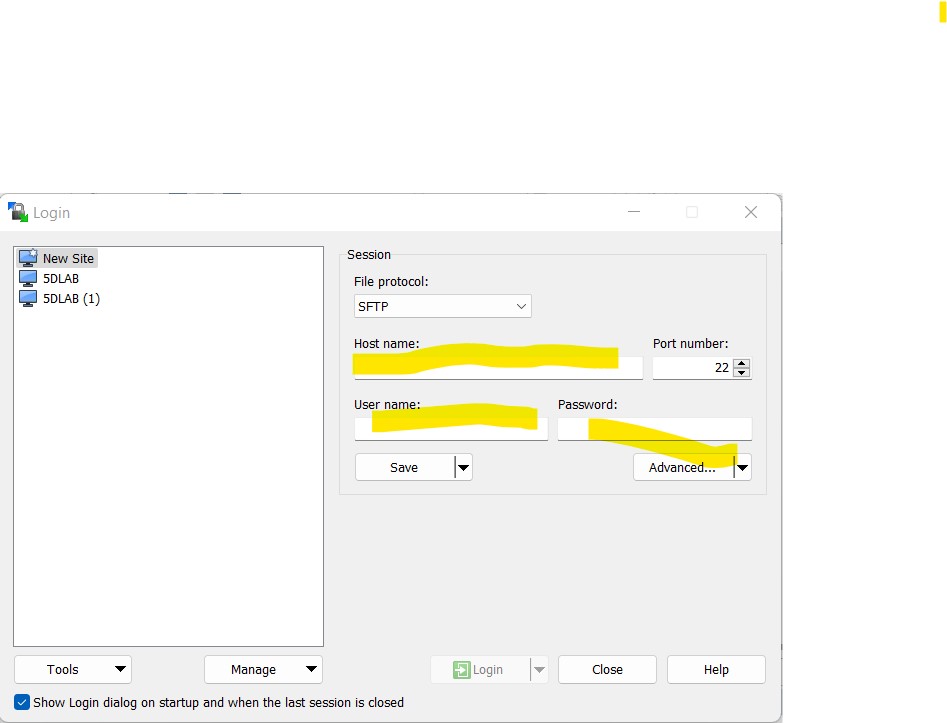
| Step 9: Enter your KENCLUST IP address, name and password sent to your email in the provided spaces.
|
| Step 10: Give your session a name and click on the “save” tab |
| Step 11: Click on the name of your saved session and start the session by clicking the “login” button |
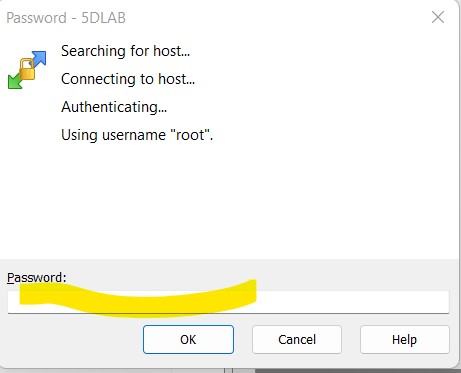
| Step 12: provide the password sent to your email
|
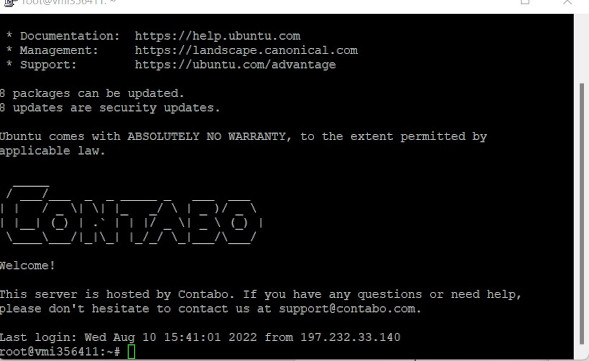
| Step 12: Congratulations! You are now inside your folder in the KenClust server.
|
| Step 13: Next, we move some files from your local computer to the server.
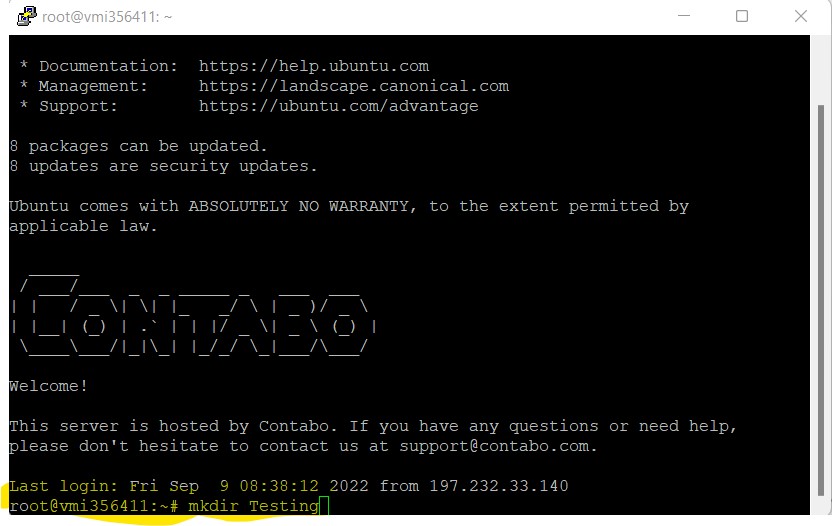
Click on the link below to download the provided fastq sequence. Create a folder called “Testing” and save the downloaded sequence inside this folder. Login to KENCLUST server using your credentials as demonstrated in the last episode and create a directory called “Testing” using the mkdir command.
|
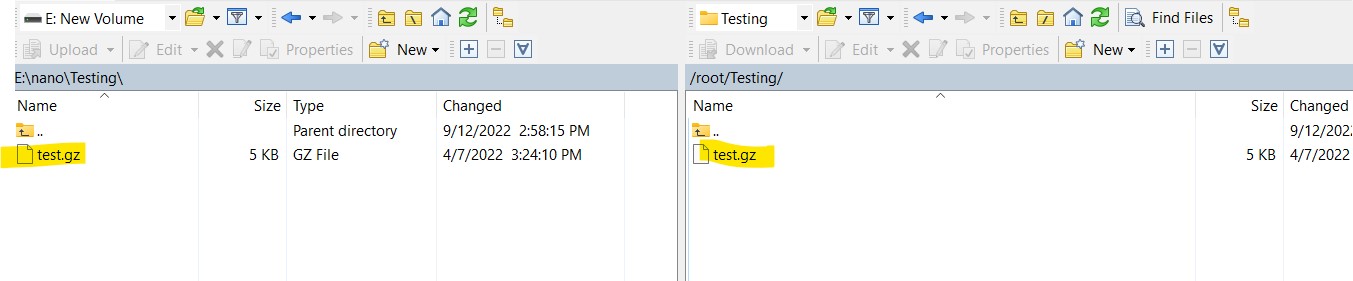
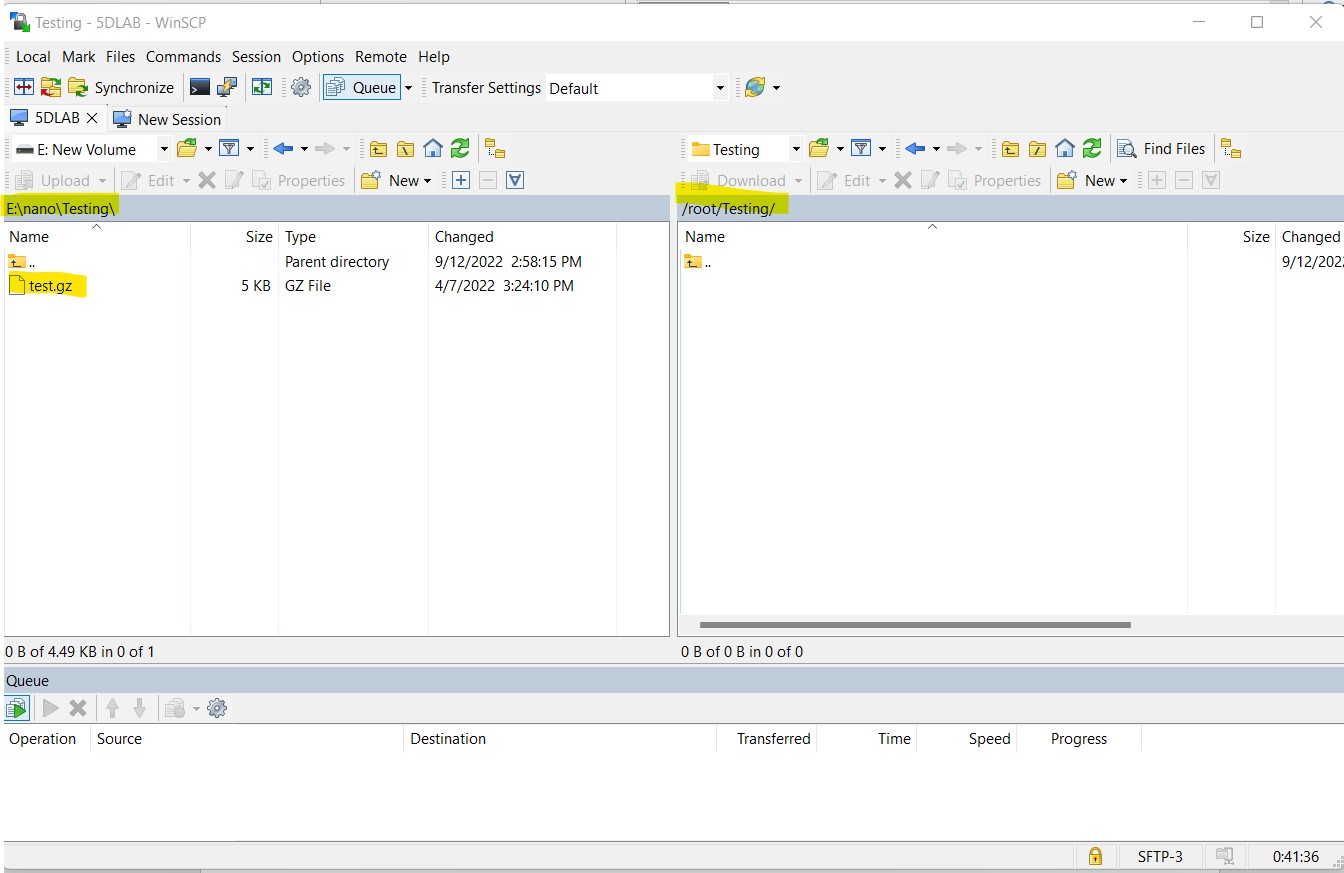
| Step 14: Make sure the directory on the left pane of the WinSCP points to the “Testing” folder on your machine and the directory on the right pane of WinSCP points to the “Testing” folder on the KENCLUST server.
|
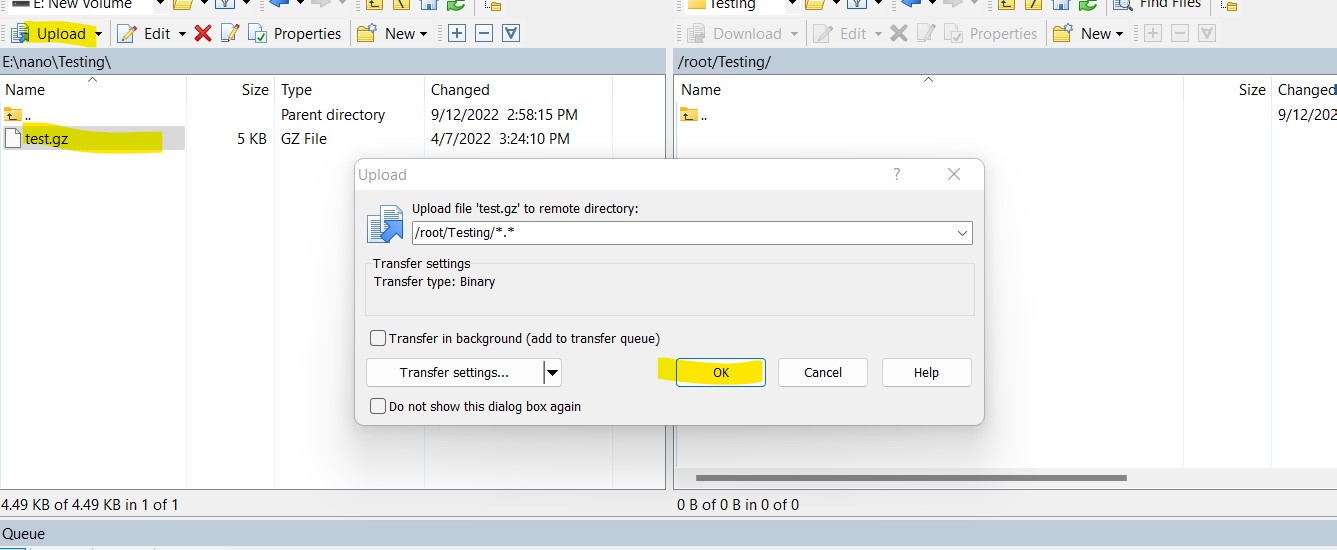
| Step 15: Click on the test.gz file in the Testing folder of your computer to upload it to the Testing folder on your server
|
| Congratulations! You have successfully copied the Test.gz file from your computer to your folder on the KENCLUST server. To move files from your folder in the server to your computer hard drive simply click the file on the right pane in the server and click the “Download” tab. The file will be downloaded to the folder in your computer.
Next, we look at how to get publicly available gene datasets from the NCBI repository using SRA Tools and wget command. |


NEXT >> Downloading Gene Datasets using SRA Tools and wget command